New vs used deep-learning machine builds. Part 1.

Earlier this year I decided to upgrade from a machine I had been using for software development and machine learning for a number of years. The system had a 4 core Intel i7–3770 CPU and a EVGA Gtx 1070 GPU.
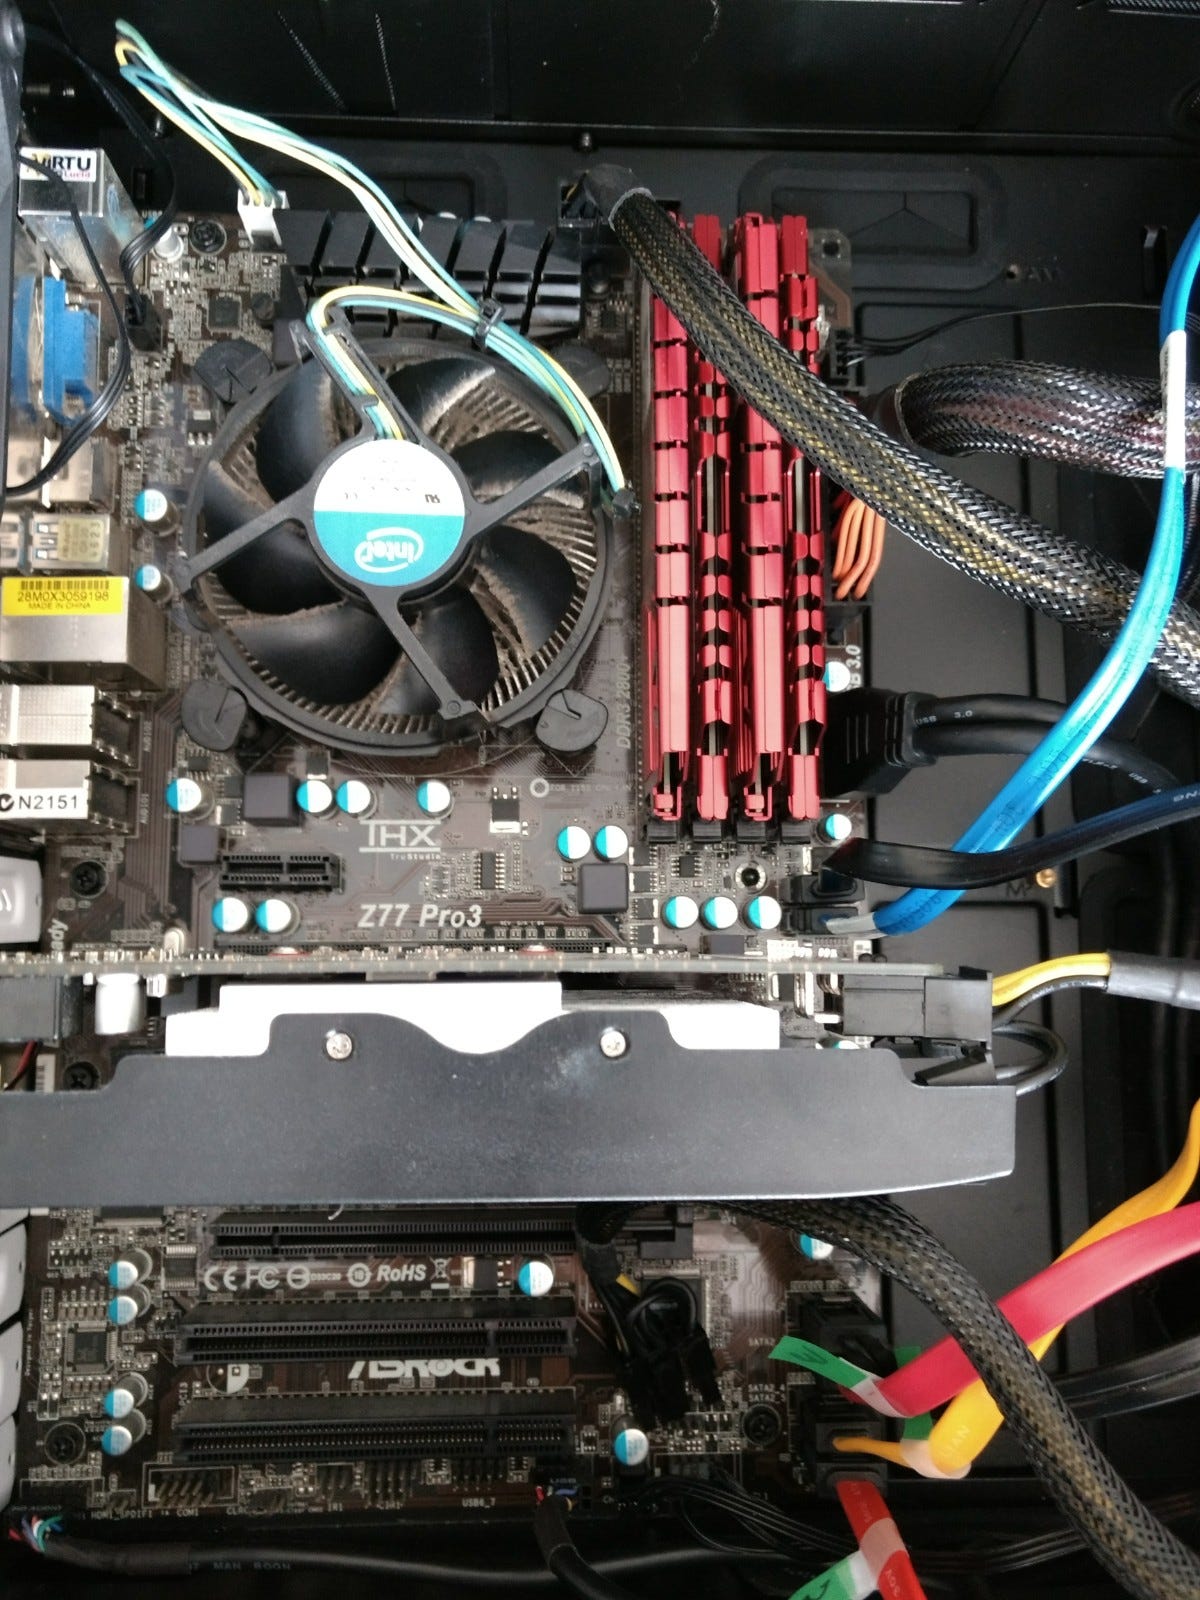
The first thing I discovered was that this CPU was pretty much top of the line for the LGA1155 socket, so upgrading the CPU would require a new motherboard.
I chose to focus just in Intel rather than AMD as firstly I had no experience with AMD builds and secondly I wasn’t sure if all the Linux libraries I was using would work. (I later learned that AMD can be used with a bit more setup than Intel, but that linear algebra libraries appear to be optimised for Intel CPU’s). The obvious choices for new hardware were the X299 (LGA2066 socket) or Z370 (LGA1151) chipsets (I only briefly looked at X99 as new these seemed out of my price range).
The LGA1151 socket Kaby Lake series have a total of 16 PCIe lanes, 4 cores while the LGA1151 socket Coffee Lake series have 6 cores and up to 16 PCIe lanes (that can be used for the GPU). The i7–8700K with 6 cores at a reasonable price was the only real condender for me.
The more expensive LGA2066 X299 Sylake-X series offer much greater flexibility in builds. I9 X series up to 18 cores and 44 PCIe lanes, and the i7 X series up to 8 cores and 28 PCIe lanes. I decided to build my system around a i7–7820X that offered very good single thread performance at a significantly cheaper price than the i9-X series processors.
Once I had settled on a CPU I narrowed down the motherboard choice to between the MSI X299 Tomahawk AC ATX (x16/ x8 Pcie 3.0 config) and the ASRock X299 Taichi (x16/x8 or x8/x8/x8 Pcie 3.0 config). I chose the MSI motherboard as my local store had these in stock, but in hindsight the ASRock would have been the better choice (option for 3 GPU’s, plus I have owned several ASRock boards before and the reliability has been great).
As I was upgrading the machine I decided to upgrade to a faster GPU and bought a Gigabyte Gtx 1080ti AORUS Extreme. To power this and the rest of the system I upgraded the PSU to a Corsair RM1000i. The X299 chipset is only compatible with DDR4 RAM so I needed to buy new RAM as well.
While I could just fit a EVGA Gtx 1070 in my CoolerMaster silencio case, the Gigabyte Gtx 1080ti was just a bit too big, so I bought a be quiet Dark Base 900 case.
Initially I was hoping to salvage as much as possible from by I7–3770 Coolermaster Silencio machine, however the only thing I ended up using were some hard drives and an SSD.
I ran the new build with 1080ti in parallel with the i7–3770 + gtx 1070 box using VNC to login to one machine from the other for a couple of months. Two things were bothering me:
1) I couldn’t run both GPU’s in the one machine (with the 1070 in slot 1 and the 1080ti in slot 3 the was a 1–2mm gap between the GPU’s and the upper one was hitting 90 degrees on load before I shut the system down) and
2) the i7–7820X + MSI motherboard was limited to two GPU’s at x16 and x8 PCIe throughput. While x8 PCIe configuration should only make a decrease in performace of up to 10% , I was thinking about getting a third GPU and regretted the choice of the MSI X299 Tomahawk over the ASRock X299 Taichi.

After speaking to a deep learning colleague on the way home after a Perth Machine Learning Group meeting, he mentioned an ASUS Z10PE-D16 WS motherboard with dual Xeon CPU sockets and 6 PCI-E Gen3 x16 slots. Although these boards are around twice the price of a X299 ‘gamer’ motherboard and compatible Xeon E5–26nn V3/V4 CPU’s are very expensive new and fairly expensive used, this setup would have been a better option for me than the i7–7820X/MSI X299 had I known about it earlier. I did find a used Xeon E5–2630 V3 on Ebay for $500 AUD and was considering a build similar to this but did more research and found a cheaper option.
Looking at twin Xeon alternative motherboards I discovered this thread on Xeon E5–2670 builds and found an ASRock EP2C602 motherboard at half the price of the ASUS. Another advantage of the EP2C602 motherboard is that with the older LGA2011 sockets it supports Xeon E5–26nn V1/V2 CPU’s which are a fraction of the cost of the V3/V4 series. A third advantage was that I could use the DDR3 RAM from my i7–3770 build. An E5–2670 V1 with 8 cores and 40 PCI-E lanes can be found on ebay for $120 AUD. At around double this price you can get an E5–2680 V2 which gives better single thread performance (25% slower than the i7–7820X) with 10 cores and 40 PCI-E lanes. One downside though to the older Xeons is that they consume a bit more power than newer CPU’s, however the option to expand to a 40 thread 80 PCI-E lane 128GB (using cheap 8GB DIMMS, 256GB with 16GB DIMMS) machine with 4xGPU’s more than makes up for this. You can read about a similar build here.
I had a CoolerMaster HAF 932 full tower case that someone was giving away free that would fit the SSI EEB form factor of the ASRock motherboard, and could utilize the PSU and DDR3 RAM from the i7–3770, I decided to get a new EP2C602–4L/D16 ASRock motherboard from Amazon , used Xeon E5–2680V2 CPU from Ebay, a used 1080 GPU I swapped for my 1070 + $100 and a used 1080ti for the price of a new 1080 (The Bitcoin miner I bought it off mentioned mining profits have decreased significantly over the last few months and his 5x1080ti rig that was making him $250 a day profit was now making $7.50 per day), and finally retire the i7–3770, running the i7–7820X with one GPU and the Xeon build with 2x GPU’s.
The Coolermaster HAF 932 ended up being a great case for a dual GPU build due to the number of fans (3x230mm Coolermaster fans+1x140mm rear fan+ option for 2x140mm more fans if the 5.25” drive cage area is removed), and abundant air-holes built into the case. I used a PCIe extender cable from Thermaltake to physically separate a GTX 1080 and GTX 1080 ti for cooler GPU temperatures.
Inspired by other fast.ai students I explored watercooling is an alternative option to keep 1 or more GPU’s cool. I looked at getting a 360/420mm radiator (30mm thick to fit at front of the Dark Base 900), silentwings 3 fans (quiet yet have good pushing power), 2x vario D5 pumps in parallel (for their reliability and can control the speed, second pump for redundancy), small oblong reservoir for easy fit, barb fittings + worm-screw fittings (cheap and functional) plus GPU waterblocks (there are relatively expensive at c. $150 AUD each). Something that may be important if you decide to expand your build is to buy a GPU that has a waterblock that can fit it, and that the waterblock can be sourced easily (eg EK or XSPC — I have found Bitspower or anything other than EK/XSPC difficult to source in Australia). This is an option for the future for me but at the moment I don’t want the complexity, cost, worry of springing a leak and don’t want to forfeit the Gtx 1080ti warranties if I don’t have to.
A third alternative is to use a NZXT Kraken G12 to cool a GPU. There’s quite a good post on this method here. As I already have a Kraken X52 AIO, I could use this + some heatsinks ($10) + a new CPU cooler to replace the Kraken (probably a Noctua NH-U12S, they are nice and quiet and not too large). I may do this for the 1080 at some stage, I can’t bring myself to void the warranties on the 1080ti’s I have quite yet.
What I have learnt:
1) An ‘old’ Xeon achitecture build can give you great flexibility and performace for a much cheaper price than new architectures and is well worth looking into.
2) AMD CPU’s look like a good option for a new machine build — more cores and PCIe lanes than Intel for the same price, but you’d need to do your research on software optimization for working out how much of a loss in performce vs Intel you would get, but this will still be a relatively expensive build.
3) Watercooling is initially complex, time consuming and may distract you for weeks from your work. Sure the result will be a much cooler operating, potentially quieter machine, and will probably extend the life of your GPU. But for me I am trying to aircool as a first stage, its cheaper and simpler, then when I am ready I will take the plunge.
4) I only discovered several weeks ago that Turbo style GPU’s don’t just have the shroud for style, but direct hot air directly outside the case, unlike the GPU’s I am using which vent hot air into the case. However at full speed the Turbo GPU’s are really noisy. Worth considering for multi-GPU builds.
In Part 2 I will cover the Xeon build in more detail and give some performance comparisons. Finally, in part 3 I discuss building a custom watercooling loop for multi-GPU rig setups..